Snowflake's rise to prominence in data-driven companies is undeniable, yet many users encounter a common bottleneck: the challenge of real-time data ingestion, particularly when it comes to upserts and deletes. Snowflake's native data ingest services, such as Snowpipe and Snowpipe Streaming, fall short of offering these crucial capabilities directly. This is where the innovative Snowflake Conduit Connector steps in, bridging this critical gap by enabling safe and real-time upserts or marking records for deletion in Snowflake. This article takes a closer look at the development journey of the Snowflake Conduit Connector, offers a guide on setting it up, evaluates its data stream performance, and previews future enhancements.
Key Points
- Performance of the Snowflake Conduit Connector
- Covering the gap of features that Snowflake doesn't offer
- How easily to deploy the connector
- Our journey on building this connector
Filling the Feature Gap with Snowflake Conduit Connector
Snowflake's architecture revolutionized data warehousing with its cloud-native approach, but its real-time data manipulation capabilities needed a boost. The Snowflake Conduit Connector is designed to extend Snowflake's functionality, allowing for real-time data upserts and deletions, features eagerly awaited by many Snowflake users. This connector not only enhances Snowflake's capabilities but also ensures data integrity and timely data updates, critical for operational and analytical workloads.
Setting Up the Snowflake Conduit Connector: A Step-by-Step Guide
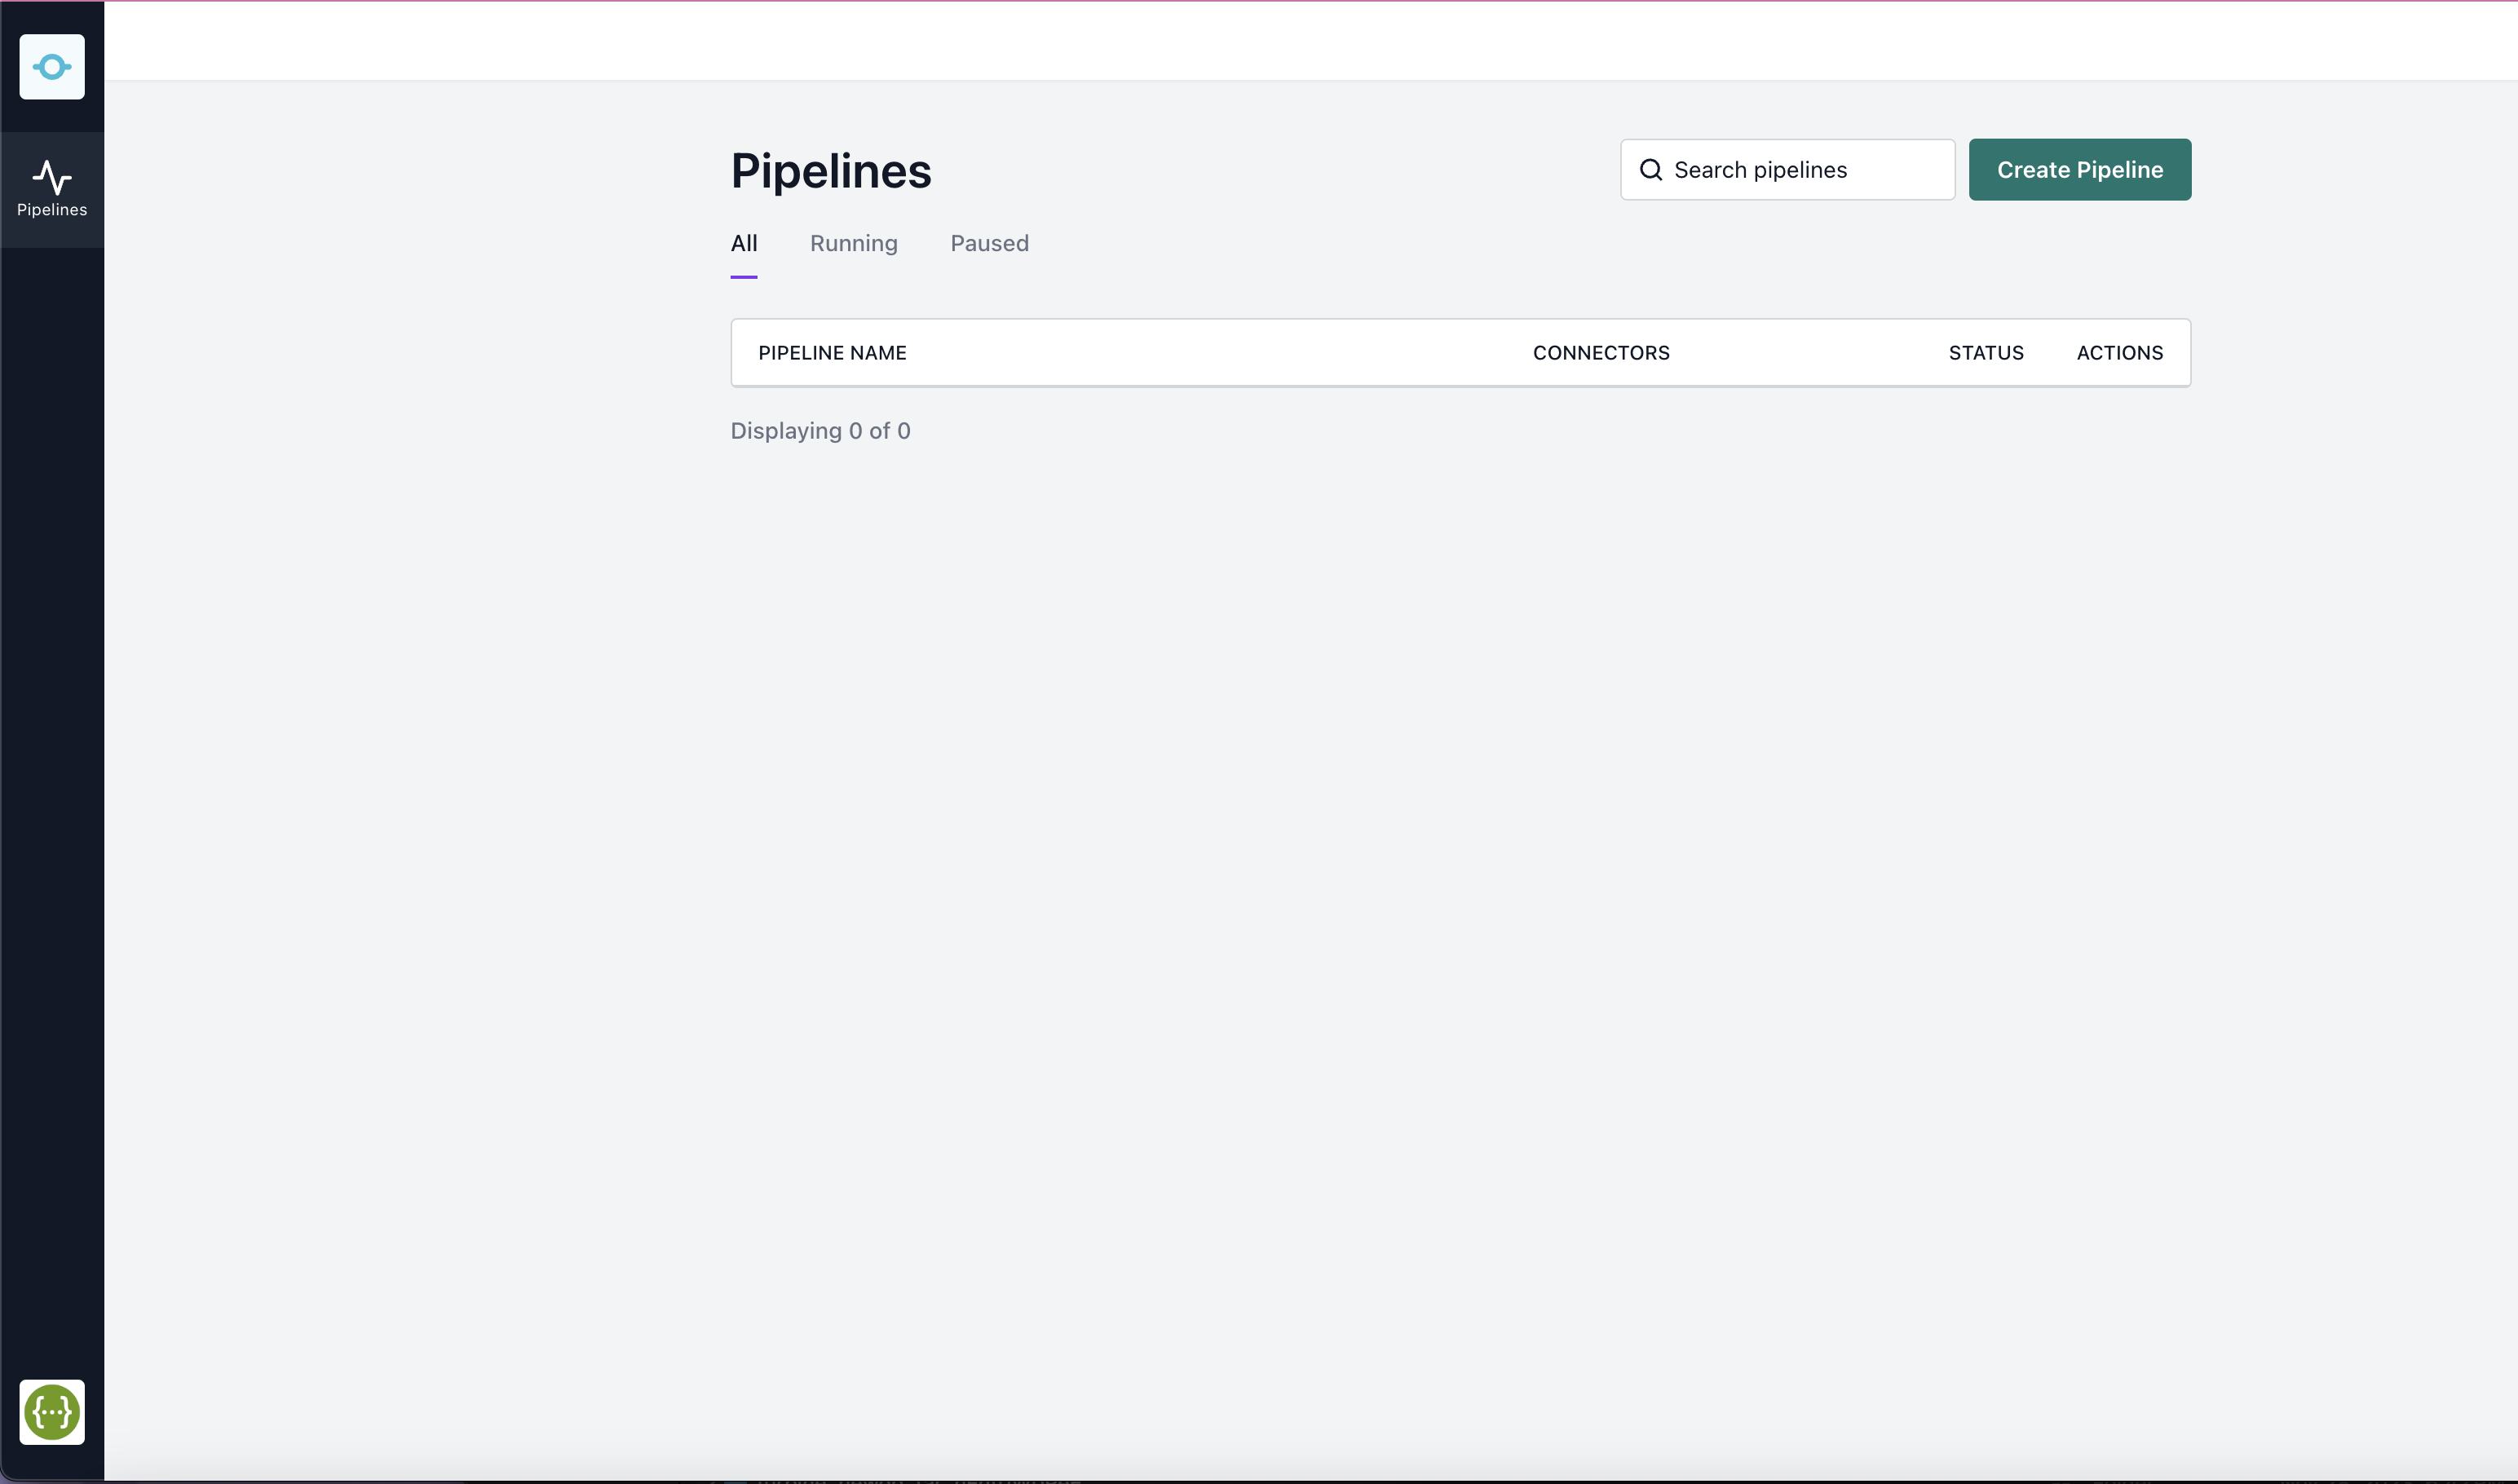
The Snowflake Conduit Connector empowers users to seamlessly integrate real-time data upserts and deletes into their Snowflake data warehouse. This guide provides a comprehensive walkthrough for setting up the Snowflake Conduit Connector, ensuring you can quickly leverage its capabilities to enhance your data management processes.
Step 1: Prerequisites
Before starting the setup process, ensure you have:
- An active Snowflake account with administrative privileges.
- Conduit installed locally
Step 2: Configuring Snowflake for the Conduit Connector
- Create a Role and User for Conduit:
- Log into your Snowflake account.
- Execute SQL commands to create a dedicated role and user for Conduit, granting the necessary permissions for reading, writing, and managing data.
CREATE ROLE conduit_connector_role;
CREATE USER conduit_connector_user PASSWORD = '<strong_password>' DEFAULT_ROLE = conduit_connector_role;
GRANT ROLE conduit_connector_role TO USER conduit_connector_user;
- Assign Permissions:
- Assign permissions to the Conduit connector role to access the specific database and tables where upserts and deletes will be performed.
GRANT USAGE ON DATABASE my_database TO ROLE conduit_connector_role;
GRANT USAGE ON SCHEMA my_database.my_schema TO ROLE conduit_connector_role;
GRANT SELECT, INSERT, UPDATE, DELETE ON ALL TABLES IN SCHEMA my_database.my_schema TO ROLE conduit_connector_role;
Step 3: Setting Up the Conduit Connector
-
Log into Conduit:
- Access your Conduit dashboard using your credentials.
-
Create a New Connector:
- Navigate to the "Connectors" section and click "Create Connector."
- Select "Snowflake" as the connector type.
-
Configure Connector Settings:
- Fill in the connection details for your Snowflake instance, including account name, user, password, and any specific configurations related to your setup.
- Specify the database and schema where the connector should perform creates, upserts and deletes.
-
Map Data Streams:
- Define the data streams that the connector will manage. Specify the source data and how it maps to the target tables in Snowflake.
- Configure the upsert and delete operations by defining the key columns and conditions.
Step 4: Launching the Connector
-
Review and Save:
- Review all settings to ensure they are correct.
- Save the connector configuration.
-
Activate Connector:
- Once the connector is configured, activate it to start processing data.
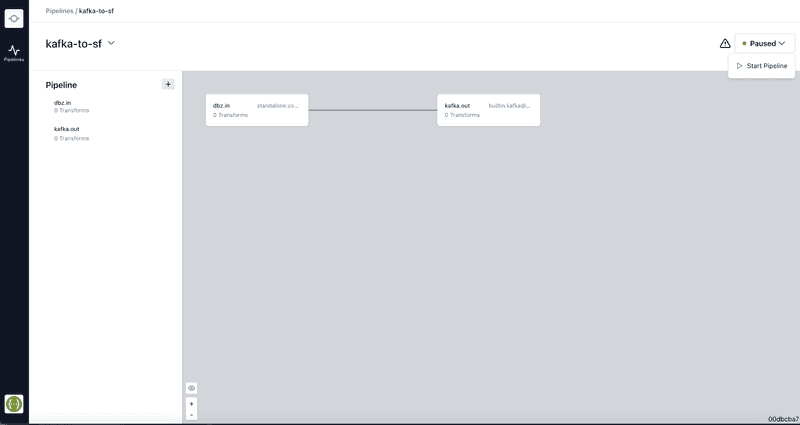
- Monitor the connector's performance and logs through the Conduit dashboard.
Step 5: Monitoring and Maintenance
- Regularly check the connector's logs for any errors or performance issues.
- Adjust configurations as necessary to optimize data processing.
Performance Insights: Streamlining Your Data Flow
One of the core advantages of the Snowflake Conduit Connector is its performance in handling data streams. Our development efforts were centered on ensuring the connector could manage high volumes of data with minimal latency, making real-time data ingestion, upserts, and deletes a reality. Here, we delve into performance metrics, showcasing the efficiency and reliability of the connector in various scenarios and highlighting how it stands up to the demands of modern data-driven operations.
Our Development Journey: Challenges and Victories
Developing the Snowflake Conduit Connector was a journey marked by both challenges and breakthroughs. From conceptualization to launch, our team navigated through intricate technical hurdles, all while keeping the user's needs at the forefront. We uncovered how other platforms produced results with missing data.
Some of the issues encountered during dev - As Snowflake provides no direct way of doing upserts we had to bench-test our own workarounds for uploading data. We made several attempts :
-
Uploading data via csv file to Snowflake, copying data from csv into temporary table, then merging it into final.
-
Uploading data via Avro file to Snowflake, copying data from Avro file into temp table, and then merging into final.
Sample Copy and Merge Query:
COPY INTO mytable_temp FROM @mystage FILES = ('myfile.avro.gz')
			 FILE_FORMAT = (TYPE = avro) MATCH_BY_COLUMN_NAME = CASE_INSENSITIVE PURGE = TRUE

MERGE INTO mytable_final as a USING mytable_temp AS b ON a.id = b.id
			WHEN MATCHED AND ( b.meroxa_operation = 'create' OR b.meroxa_operation = 'snapshot' ) THEN UPDATE SET a.meroxa_updated_at = b.meroxa_updated_at
			WHEN NOT MATCHED AND ( b.meroxa_operation = 'create' OR b.meroxa_operation = 'snapshot' ) THEN INSERT  (a.meroxa_operation, a.meroxa_created_at, a.meroxa_updated_at, a.meroxa_deleted_at, a.data) VALUES (b.meroxa_operation, b.meroxa_created_at, b.meroxa_updated_at, b.meroxa_deleted_at, b.data) ;
Those above proved to be too slow, so we ended up going with this solution: uploading data in csv format, directly merging data from csv into the final table
Sample Merge Query On New Records:
MERGE INTO my_table as a USING ( select $1 meroxa_operation, $2 meroxa_created_at, $3 meroxa_updated_at, $4 meroxa_deleted_at, $5 data from @file/file.csv.gz (FILE_FORMAT =>  CSV_CONDUIT_SNOWFLAKE ) ) AS b ON a.id = b.id
			WHEN MATCHED AND ( b.meroxa_operation = 'create' OR b.meroxa_operation = 'snapshot' ) THEN UPDATE SET a.meroxa_operation = b.meroxa_operation, a.meroxa_created_at = b.meroxa_created_at, a.meroxa_updated_at = b.meroxa_updated_at, a.meroxa_deleted_at = b.meroxa_deleted_at, a.data = b.data,
			WHEN NOT MATCHED AND ( b.meroxa_operation = 'create' OR b.meroxa_operation = 'snapshot' ) THEN INSERT  (a.meroxa_operation, a.meroxa_created_at, a.meroxa_updated_at, a.meroxa_deleted_at, a.data) VALUES (b.meroxa_operation, b.meroxa_created_at, b.meroxa_updated_at, b.meroxa_deleted_at, b.data) ;
Also, to speed up the processing of data in our connector, we needed to split the stream of records (let's say we get 10k in one batch) into several chunks allowed us to use goroutines to parallelize the file generation + file uploading efforts when generating and writing to csv file.
While Snowflake allows you to define primary keys, they don't enforce them. That's a huge issue as it can result in duplicates on the primary key to be inserted. But we’ve taken care of that with deduping during our merge and csv file generation (we check in both places). Since there are no duplicates in a batch, and we have compacted the records in-order (say, if you have CREATE, then UPDATE for a record). This eliminates the single batch ordering requirement.
We also had to ensure that we were properly compressing and uploading files to not lose any data and that there isn’t an extensive wait time to upload.
Looking Ahead: Future Enhancements
The Snowflake Conduit Connector is a living project, with ongoing enhancements aimed at addressing the evolving needs of Snowflake users. We are committed to continuous improvement, drawing on user feedback and emerging data management trends to refine and expand the connector’s capabilities. The following list is just a few features that are on the horizon:
- Multiple tables
- Performance/compression improvements
- Schema detection & versioning
Conclusion
The Snowflake Conduit Connector is more than just a solution to a problem; it's a testament to the power of innovation in the face of technical limitations. By enabling real-time upserts and deletes, this connector not only enhances Snowflake's capabilities but also empowers data-driven companies to manage their data more effectively and efficiently. As we continue to develop and improve the Snowflake Conduit Connector, we look forward to unlocking even greater possibilities for our users, ensuring their data pipelines are as dynamic and robust as the insights they seek to derive.

- Share Streamlining Your Analytics: Building an Efficient Snowflake Data Pipeline for Upserts and Deletes on Facebook

- Share Streamlining Your Analytics: Building an Efficient Snowflake Data Pipeline for Upserts and Deletes on Twitter

- Share Streamlining Your Analytics: Building an Efficient Snowflake Data Pipeline for Upserts and Deletes on LinkedIn

