The new world of data is requiring the ability to move data quickly and efficiently across systems and, is vital for organizations seeking to gain real-time insights. Streaming data from sources like MongoDB to powerful analytics databases like ClickHouse can unlock opportunities for faster decision-making and more responsive applications. In this blog, we will walk through the technical process of setting up a real-time data streaming pipeline from MongoDB to ClickHouse using Conduit, an open-source data integration tool designed for high-performance streaming.
This guide builds on our previous demonstration of moving data from PostgreSQL to ClickHouse, and we’ll now shift our focus to MongoDB as the source of our real-time data.
Why Stream Data from MongoDB to ClickHouse?
MongoDB is a popular NoSQL database well-suited for managing large volumes of flexible, unstructured data. However, as applications grow and the need for real-time analytics arises, MongoDB may not be optimized for complex analytical queries at scale. This is where ClickHouse comes in—known for its lightning-fast analytical capabilities, it is perfect for handling high-velocity, complex queries over large datasets.
By streaming data from MongoDB to ClickHouse, organizations can:
- Perform real-time analytics on transactional data.
- Benefit from ClickHouse’s OLAP (Online Analytical Processing) strengths.
- Visualize large data sets with minimal latency using tools like Grafana.
- Ensure scalability and maintain performance as the system grows.
Setting Up the Pipeline: Streaming from MongoDB to ClickHouse
Now, let’s dive into the technical steps required to set up a real-time data streaming pipeline from MongoDB to ClickHouse using Conduit.
Step 1: Installing Conduit
First, you’ll need to install Conduit, which acts as the backbone of our data pipeline. The setup process is straightforward:
- Head to the Conduit installation documentation to download the binary for your platform.
- Follow the instructions to install and run Conduit on your system.
Once installed, you should have the conduit command available in your terminal. This will be used to manage and run our data pipeline.
Step 2: Setting Up MongoDB and ClickHouse
MongoDB Configuration
If you haven’t already, install MongoDB:
brew tap mongodb/brew
brew install mongodb-community@5.0
brew services start mongodb/brew/mongodb-community
Next, create a user and a database collection in MongoDB:
mongo
use admin
db.createUser({
  user: "MONGO_USER",
  pwd: "MONGO_PASS",
  roles: [{ role: "readWrite", db: "meroxa" }]
})

use meroxa
db.createCollection("users")
Finally add some sample data you want to see streamed over to Clickhouse:
db.users.insertOne({ name: "Alice", email: "alice@example.com" })
db.users.insertOne({ name: "Bob", email: "bob@example.com" })
db.users.insertOne({ name: "Charlie", email: "charlie@example.com" })
Setting Up ClickHouse
For ClickHouse, you can use the following commands to set up the required table. This ensures that ClickHouse has the correct schema to receive the streamed data from MongoDB:
curl --user 'USERNAME:PASSWORD' \
  --data-binary 'CREATE TABLE meroxa.users (
      _id String,
      name String,
      email String
  ) ENGINE = MergeTree()
  ORDER BY _id' \
  ${CLICKHOUSE_URL}
Note: Once you set up a ClickHouse instance or set up a ClickHouse trial on their website, you can find the connect button to get the username, password, and ClickHouse URL to make API calls to your instance.
Step 3: Installing the Required Connectors
Conduit uses connectors to interface with data sources and sinks. In our case, we’ll use the MongoDB source connector and the ClickHouse destination connector.
- Download the Connectors: Clone the connectors from the official GitHub repositories:
-
Build the Connectors: After cloning the repositories, navigate into each directory and run
make buildto build the connectors. -
Move the Connectors to the Project Directory: Place the compiled connectors into the connectors/ folder in your project:
├── connectors
│   ├── conduit-connector-clickhouse
│   └── conduit-connector-mongo
Step 4: Define the Data Pipeline in YAML
Here is a YAML configuration file (mongo-to-clickhouse.yaml) that defines the pipeline for moving data from MongoDB to ClickHouse:
version: 2.2
pipelines:
  - id: mongo-to-ch
    status: running
    description: >
      This pipeline showcases real-time data streaming from MongoDB to Clickhouse.
    connectors:
# [CONNECTOR] SOURCE
      - id: mongo-source
        type: source
        plugin: standalone:mongo
        settings:
          uri: "mongodb://MONGO_USER:MONGO_PASS@MONGO_URL:PORT/MONGO_DB?authSource=admin"
          db: "MONGO_DB"
          collection: "users"
          auth.username: "MONGO_USER"
          auth.password: "MONGO_PASS"
          auth.mechanism: "SCRAM-SHA-256"
# [CONNECTOR] DESTINATION
      - id: clickhouse-sink
        type: destination
        plugin: standalone:clickhouse
        settings:
          url: "https://USERNAME:PASSWORD@CLICKHOUSE_URL?secure=true"
          table: "users"
          keyColumns: "id"
This pipeline is configured to move data from the users collection in MongoDB to the users table in ClickHouse in real-time.
Step 5: Running the Pipeline
With everything set up, you can now run the pipeline with a single command:
./conduitOnce the pipeline is running, any changes made to the users collection in MongoDB will be streamed in real-time to the users table in ClickHouse.
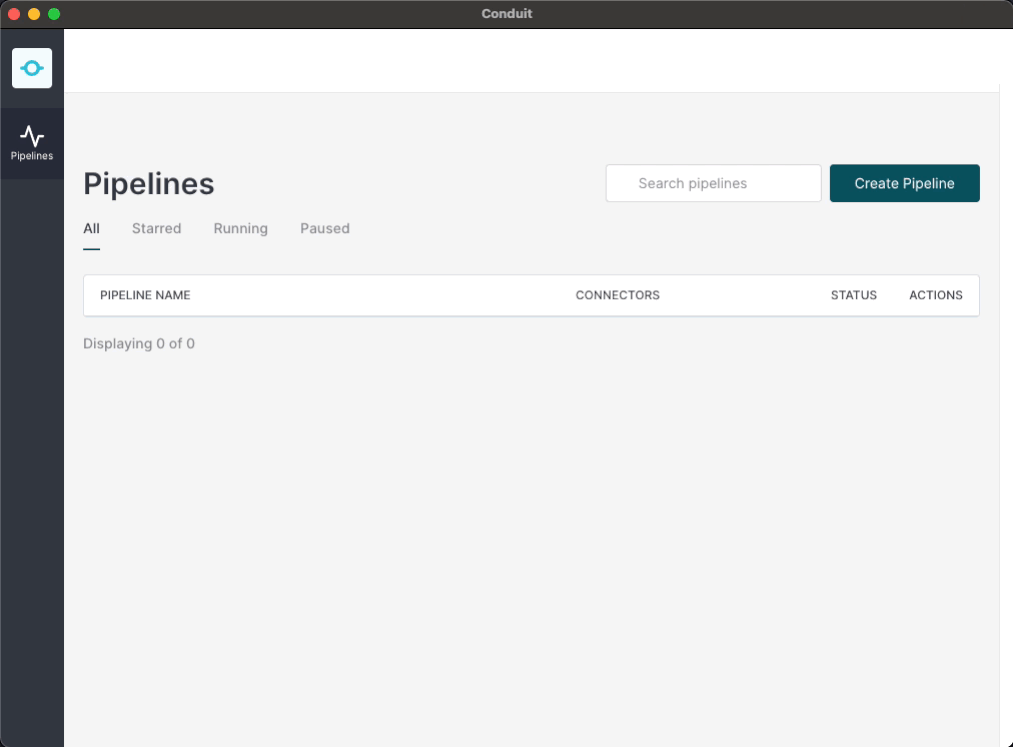
Once your pipeline is running, you can visit http://localhost:8080/ui You will see your pipeline defined here. You will also have the ability to inspect the stream to see records that are coming in in real-time from MongoDB and going to ClickHouseDB.
Conclusion
By following these steps, you can easily set up a real-time data streaming pipeline from MongoDB to ClickHouse using Conduit. This allows you to leverage the best of both worlds—MongoDB’s flexible data model and ClickHouse’s powerful analytics capabilities. With minimal setup, you can move large amounts of data efficiently and gain actionable insights in real time, making it perfect for organizations looking to optimize their data workflows.
Click here to schedule a demo today! Stay tuned for future blogs, where we’ll dive deeper into advanced transformations and optimizations you can apply within your streaming pipelines!